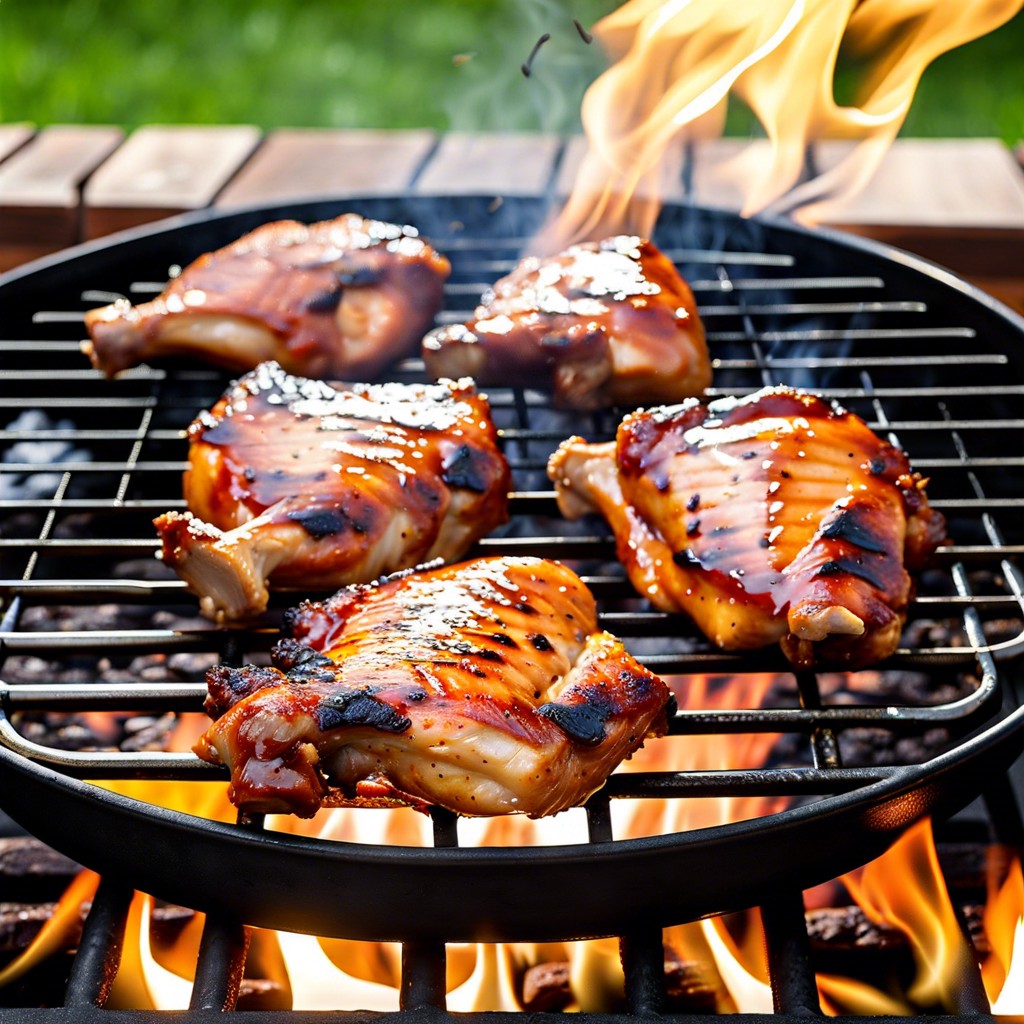
Learn the technique to perfectly grilled BBQ chicken thighs, ensuring a juicy interior and a crisp, flavor-packed exterior.
Key takeaways:
- Start with skin-on, bone-in chicken thighs for maximum flavor.
- Set up a two-zone fire on your grill for even cooking.
- Use direct heat to sear the thighs, then move to indirect heat to finish cooking.
- Use a meat thermometer to ensure the thighs reach 165°F.
- Apply BBQ sauce in the last 10 to 15 minutes of grilling for the perfect glaze.
Preparation for Maximum Flavor
Starting with skin-on, bone-in chicken thighs, gives you a fighting chance at flavor-packed and succulent results. To prime your poultry for the grill, a dry rub with a blend of brown sugar, paprika, garlic powder, salt, and a pinch of cayenne works wonders. The sugar caramelizes under the heat, while the spices infuse deeply as the meat cooks through. Letting the rub sit on the meat in the refrigerator for at least an hour, preferably overnight, allows the flavors to marry and penetrate the chicken, setting the stage for a flavorful feast.
Brining is another trick to hydrate the meat and add savory notes. Simple brine made of water, kosher salt, and a touch of sugar can do the trick. Submerge the thighs for 30 minutes to an hour but no longer to avoid a texture that’s too soft. The osmosis works like a cha-cha, moving moisture and flavor back and forth through the meat fibers.
Finally, keep the full-body flavor train chugging by letting the chicken reach room temperature before it hits the grill. Why? Throwing cold meat on a hot grill is like jumping into a swimming pool in winter – it’ll seize up, cooking unevenly and losing that juiciness you’re after. Give them about 15-30 minutes of sit time and they’ll be warmed up and ready for action.
Grill Setup for Chicken Thighs
Strike a balance between direct heat and a cooler zone by setting up a two-zone fire on your grill. This technique involves igniting the coals or setting one side of the gas burners on high while leaving the other side at a lower temperature or completely off. It’s much like having a stovetop with multiple burners at varying heats all under your grill hood.
When placing chicken thighs on the grill, start skin-side down over the hotter part to render fat and get that desirable crispness. After a good sear, move them to the cooler zone to continue cooking. This shift allows the meat to cook through without charred skin.
Keep your grill lid down as you would close an oven door. This contains the heat and smokes the chicken, giving it that characteristic BBQ flavor.
The temptation might be to be constantly turning your chicken, but patience is key. Turn them sparingly, only when necessary. This method reduces the risk of uneven cooking and flare-ups that could leave you with a less than perfect result.
Remember to preheat your grill just right – too hot, and the skin will burn before the inside is done; too cool, and you’ll miss out on the crispness. Aim for a sweet spot around 350 to 400 degrees Fahrenheit for the best results.
Grilling Techniques for Chicken Thighs
Direct heat is your friend but manage it like a chess master strategizes their next move. Start by placing chicken thighs on the hot part of the grill, skin-side down. This initial sear renders fat and sets the stage for crispy skin. Give them a good 2 to 3 minutes until they unfurl a golden-brown hue. Then, shift gears.
Transition the thighs to indirect heat to avoid a charred exterior while the interior plays catch-up. Depending on the grill’s temperament, this side-stage cooking can last between 20 to 25 minutes. As they bask in the ambient warmth, it’s time to multitask.
Keep the lid down but don’t abandon ship. Halfway through, flip those thighs to forge an even complexion on both sides. It’s akin to flipping a pillow to the cool side – a simple move for comfort, or in our case, consistency. Regularly monitoring the internal temperature nudges you closer to that perfect cook without playing a guessing game.
Lastly, resist the urge to keep flipping. Each movement is like hitting refresh on a web page that’s already loaded—unnecessary and just prolongs the process. Trust the heat and time to do their thing, and you’ll have juicy, BBQ chicken thighs that are a high-five for your taste buds.
Determining Chicken Thigh Doneness
Avoid the old poke-and-hope method of testing doneness and embrace precision for perfection. The foolproof strategy is to employ a meat thermometer. Insert the probe into the thickest part of the thigh, avoiding bone. You’re aiming for 165°F – the magic number where safety meets juiciness.
Juices running clear as you slice near the bone is another tell-tale sign your chicken is ready to take the limelight. Color is a tricky companion, but look for flesh that has lost its pinkish tone, a hint that it’s fully cooked.
Lastly, practice makes perfect. Over time, your instincts will sharpen, recognizing when the chicken’s texture has that just-right firmness, a subtle cue that it’s done to a turn. Remember, properly cooked chicken is the linchpin to a memorable BBQ.
Applying BBQ Sauce At the Right Time
Slathering on the BBQ sauce too early can be a rookie mistake. The high sugar content in most sauces means they can go from perfectly caramelized to charred if given too much time over heat. Aim to baste the chicken thighs with your sauce of choice during the last 10 to 15 minutes of grilling. This window allows the sauce to adhere to the meat and develop a tantalizing glaze without burning.
Remember, it’s a marathon, not a sprint—moderation is key. Layer the sauce thinly, applying multiple coats rather than one thick layer. This ensures each thigh is evenly coated and creates a more complex flavor profile.
Keep a watchful eye on the thighs as they grill post-saucing. Temperatures may need adjusting due to increased potential for burning. Flip the chicken frequently to prevent the dreaded char and to promote an even, mouthwatering finish that’ll make taste buds do a happy dance.
Ultimately, patience with your sauce pays off. The result is beautifully lacquered chicken thighs that are sticky, glossy, and packed full of flavor—a testament to your grilling prowess.