Learn the optimal grilling duration for juicy, perfectly cooked BBQ chicken thighs and the subtleties that can affect cooking time.
Key takeaways:
- Bone-in thighs: 30-40 min over medium heat, turning occasionally.
- Boneless thighs: 20-30 min over medium heat.
- Maintain grill temp of 350-375°F (175-190°C).
- Consider indirect grilling for even cooking, prevent burning.
- Use a meat thermometer, target internal temp: 165°F (74°C).
How Long Will the Chicken Thighs Take to Grill?
The grilling time for chicken thighs can vary due to factors such as size, bone content, and grill temperature.
– Typically, bone-in chicken thighs require 30 to 40 minutes over medium heat, turning occasionally.
– Boneless thighs generally cook faster, taking about 20 to 30 minutes.
– Maintaining a consistent grill temperature around 350-375°F (175-190°C) is crucial.
– Consider indirect grilling for more even cooking and to prevent burning.
– Use a meat thermometer to ensure a safe internal temperature of 165°F (74°C) is reached.
Should I Use Bone-in Chicken Thighs, or Boneless Thighs?
The decision between bone-in and boneless chicken thighs influences cooking time and flavor. Bone-in thighs typically take a bit longer, about 10 to 15 minutes per side on medium heat, as the bone conducts heat and cooks the meat from the inside. They also retain more moisture due to the slower cooking process, making them juicier and more flavorful.
Conversely, boneless thighs cook faster, usually needing about 4 to 7 minutes per side over medium heat. They’re a quicker option for those short on time and are simpler to handle and eat without the bone. However, they can dry out if overcooked, so it’s critical to keep a thermometer handy to prevent this.
Regardless of your choice, grilling over a consistent medium heat and using a meat thermometer will ensure perfectly cooked, succulent chicken thighs. Aim for an internal temperature of 165°F to confirm doneness.
Step 1: Prepare the Chicken for Grilling
Begin by patting the chicken thighs dry with paper towels to ensure proper sear and to help the seasoning adhere well.
Next, trim any excess skin or fat, which helps to reduce flare-ups and ensures even cooking.
Apply a generous amount of your chosen rub or marinade to all sides of the thighs, rubbing it in to cover the meat thoroughly.
For optimal flavor, consider letting the seasoned chicken rest in the refrigerator for at least 30 minutes or, ideally, several hours.
This step is not only about flavor enhancement but also about promoting food safety by keeping the chicken at a safe temperature before it hits the grill.
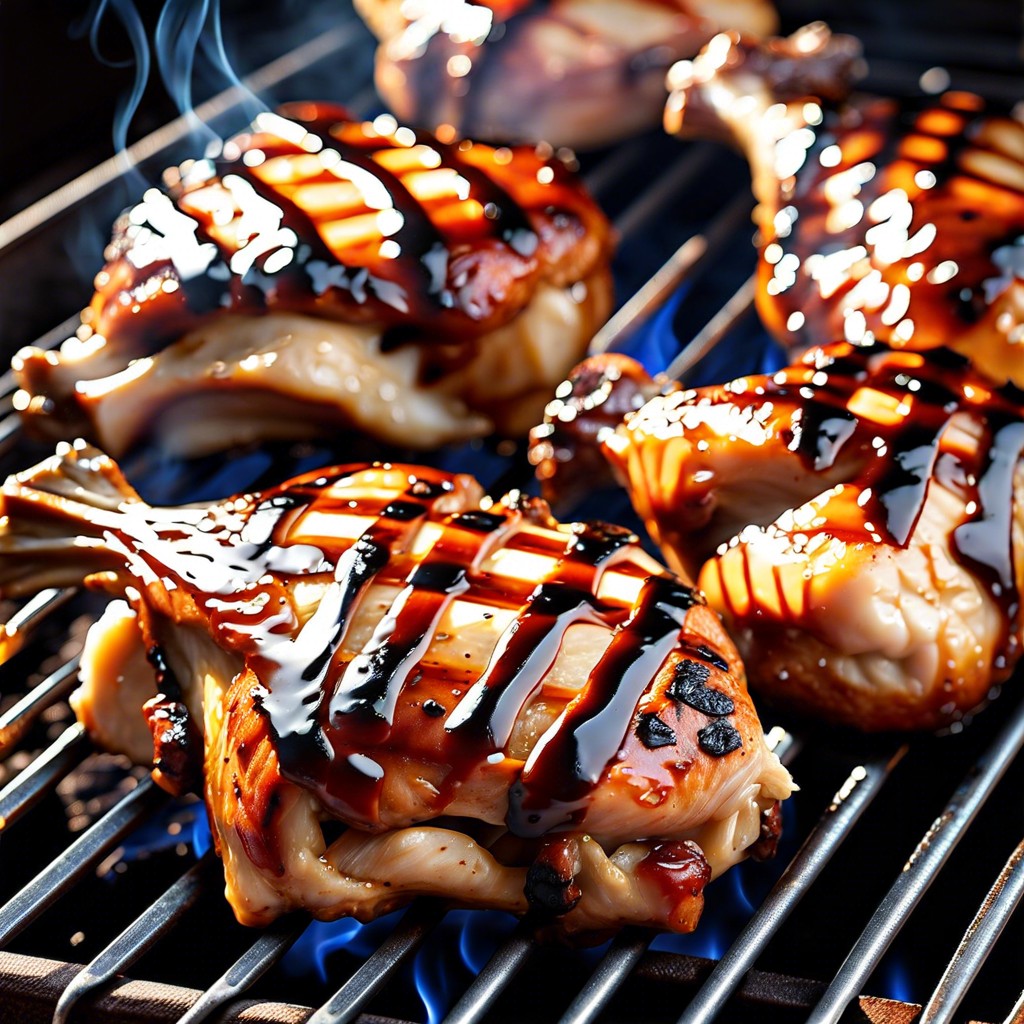
Step 3: Grill the Chicken Thighs
Preheat your grill to a medium-high heat of around 400°F, perfect for cooking chicken thighs thoroughly without burning the exterior. Position the thighs on the grill grates and close the lid to encapsulate the heat, which aids in a more even cook.
Follow this two-tiered approach: Utilize direct heat to sear each side of the thigh for 4-5 minutes, crafting those coveted grill marks and imbuing a smoky flavor. Then, transition the thighs to indirect heat to continue cooking — this method reduces the risk of charring while ensuring the thighs reach the appropriate internal temperature.
Flip the thighs every 5 minutes to foster an even cook. Monitor the internal temperature closely after they’ve been on the grill for about 20 minutes. Aim for an internal temperature of 165°F, the safe threshold for poultry, as gauged by a meat thermometer inserted into the thickest portion of the thigh.
A slight char on the outside is quite all right — it’s a sign of well-executed grilling. However, if flare-ups occur, move the thighs to a cooler portion of the grill to prevent burning. Keep the lid down between flips to maintain a consistent temperature within the grill.
Remember, your patience will be rewarded with succulent, perfectly cooked BBQ chicken thighs.
How To Know When Grilled Chicken Thighs Are Done
Ensuring perfectly cooked chicken thighs boils down to two primary indicators: internal temperature and meat texture.
Firstly, a reliable instant-read thermometer is your best ally. The safest internal temperature for poultry, as recommended by the USDA, is 165°F. Insert the thermometer into the thickest part of the thigh without touching the bone, and wait for the reading to stabilize. If it hasn’t reached the target temperature, continue cooking, checking every few minutes to avoid overcooking.
Observing the juices is another practical test. If they run clear upon piercing the chicken, it is generally a good indication that the meat is cooked. However, this isn’t as foolproof as temperature measurement due to variations in meat coloration.
The texture of the chicken also provides cues. Properly cooked thighs should be firm to the touch and the fibers should be easy to separate with a fork. This is different from the rubbery feel of undercooked chicken or the stringiness of an overcooked piece.
Lastly, color is a secondary hint, though it should not be the sole method of assessment due to the presence of myoglobin in darker meats like thighs which can retain a pinkish hue even when safely cooked. The meat closer to the bone might also retain some of this color, despite reaching the appropriate temperature.
Remember, carryover cooking will occur once the meat is off the grill, often raising the internal temperature by another 5°F or so. Rest the chicken thighs for a few minutes before serving to allow this process to complete and for juices to redistribute, ensuring moist, tender results.
Related
- How Long to Grill Chicken Thighs on Gas Grill: Perfect Timing for Juicy Results
- How Long to Grill Chicken: Tips for Perfectly Cooked Poultry
- How to BBQ Chicken Thighs: Perfect Grilling Techniques and Tips
- Weber BBQ Recipe: Finger-Lickin’ Flavor Made Easy
- BBQ Chicken Thighs on Grill: Step-by-Step Instructions for Juicy Results