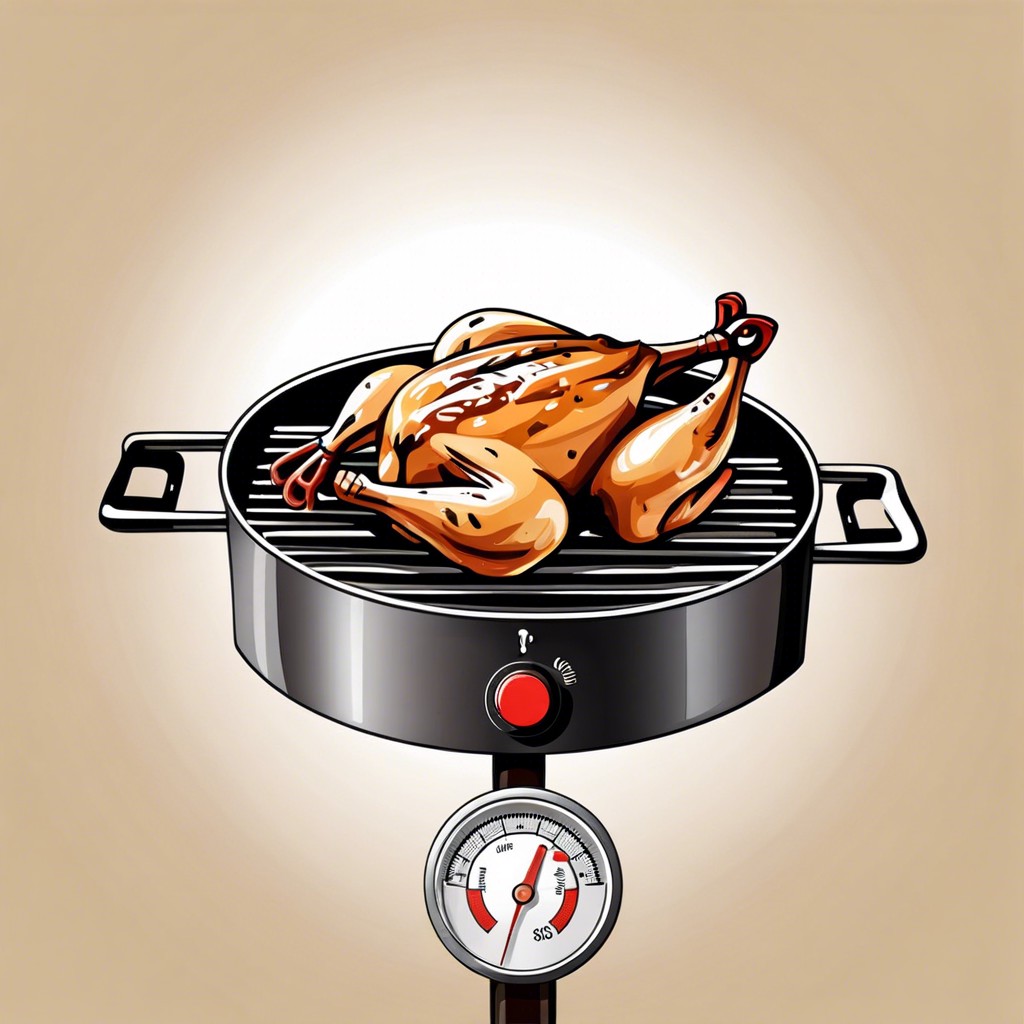
Learn the optimal temperature for grilling chicken to perfection and how to maintain it for juicy, flavorful results.
Key takeaways:
- Medium-temperature grill: breast meat at 165°F, dark meat near 175°F.
- Use a reliable meat thermometer for accurate readings.
- Brining and using indirect heat prevent dry chicken.
- Rest chicken after grilling to redistribute juices.
- Trust the precision of a meat thermometer for doneness.
Optimal Chicken Grilling Temperature

Aiming for the sweet spot, chicken thrives at a medium-temperature grill. To crack the code: breast meat excels at 165°F, dark meat pushes slightly higher, near 175°F. Crisp skin without the char? Start skin-side down over medium heat, then flip. Patience is paramount—keep the lid down and don’t rush the sizzle. With indirect heat, thicker cuts won’t turn to jerky but will cook through evenly. Trust a meat thermometer over guesswork; precision trumps estimations. Remember, carryover cooking will inch the temperature up a few degrees post-grill. No need to slice and peek, your trusty thermometer confirms perfection. Grill masters know, the right temperature turns ordinary chicken into a smoky, juicy triumph.
Tools for Monitoring Chicken Temperature
A reliable meat thermometer is your best friend when grilling chicken. Instant-read thermometers give you a quick and accurate reading. Aim to check the thickest part of the meat, avoiding bones for the most precise temperature. Digital probe thermometers are another option, allowing you to monitor the chicken’s internal temp without lifting the grill lid. For tech enthusiasts, smart thermometers sync with mobile devices, alerting you when the chicken hits the desired temperature. Keep in mind, regular calibration of your thermometer ensures accuracy, so perform a quick ice water or boiling water test before your grilling session. These simple tools are essential for achieving perfectly grilled chicken every time.
Tips for Preventing Dry Chicken
Brining is your secret weapon against parched poultry. Soak your chicken in a saltwater solution for a few hours before grilling. This process improves moisture retention, so your chicken stays juicy on the inside even with the heat cranked up.
Opt for indirect heat when you can. Searing the outside over direct flames, then finishing cooking over a cooler area of the grill keeps the juices where they should be – inside your chicken.
Let’s talk skin. It’s not just for flavor – it acts as a protective barrier. Cooking your chicken skin-side down for part of the time can shield the meat from intense heat and lock in tenderness.
Patience is a virtue, especially with chicken. Resist the urge to poke and prod. Each puncture releases precious juices. Flip your chicken only when necessary and treat it as gently as you would handle a carton of eggs.
Lastly, resting is non-negotiable. After all, who doesn’t need a good rest after a searing experience? Give your chicken a breather for a few minutes post-grill to redistribute juices, ensuring that each bite is as succulent as the first.
Recognizing When Chicken Is Properly Cooked
A golden hue and crispy skin often signal that your chicken may be ready, but they aren’t foolproof indicators of doneness. Instead, trust in the precision of a meat thermometer. Insert it into the thickest part of the meat without touching bone; a temperature of 165°F guarantees a safely cooked chicken that’s juicy and tender.
Visual cues can be helpful but can sometimes deceive. Clear juices can imply readiness, yet they don’t assure the meat has reached a safe internal temperature. Similarly, cutting into the meat to check its color is unreliable—not all parts cook at the same rate.
To prevent the yo-yo effect of undercooked or overcooked chicken, resist the temptation to keep flipping and cutting it. Consistent cook-times yield consistent results. Once you think it’s done, let the meat rest for a few minutes. This patience pays off as it allows the juices to redistribute, ensuring each bite is as succulent as the last.
Remember, the perfect combination of skills and tools makes for the perfect BBQ chicken. Lean on your meat thermometer as your trusty guide; it’s the silent chef’s assistant that whispers, “This chicken is just right.”
Safety Tips When Handling Raw and Cooked Chicken
Playing it safe with chicken isn’t just about dodging dryness; it’s a tango with food safety. Start your grilling adventure by washing your hands like you’re about to meet someone for the first time, because bacteria, like a bad first impression, sticks. Use separate cutting boards – one for veggies, one for the bird – to avoid an unwanted mix. Cross-contamination is the uninvited plus-one at the BBQ party.
Always keep raw chicken chilled; think of your fridge as a VIP lounge for poultry, where it chills until showtime. For marinades that double as sauces, never reuse the stuff that touched raw chicken unless you bring it to a full boil. That’s like giving the bad bacteria a ticket outta town.
Once the chicken hits the grates, leave that flipping job to clean utensils. Swap out the ones that touched raw meat like you’re swapping dance partners; don’t lead with the same one. Cooked chicken should always land on a fresh plate, as if stepping onto a red carpet free from the paparazzi of pathogens.
By keeping these tips in mind, you’ll dance through grilling and serve up chicken that’s not just tasty but treated with the respect it deserves – safe and sound on the plate.
Related
- How Long to Grill Chicken: Tips for Perfectly Cooked Poultry
- How Long to BBQ Chicken Thighs: Perfect Grilling Techniques and Tips
- Grilling Chicken Breast: Step-by-Step Guide for Juicy Results
- How Long to Grill Chicken Thighs on Gas Grill: Perfect Timing for Juicy Results
- Grilled BBQ Chicken Breast: How to Perfectly Cook It at Home