Learn the most effective techniques for grilling chicken breasts to achieve juicy, flavorful results every time.
Key takeaways:
- Select uniform-sized chicken breasts for even cooking
- Brine chicken before grilling for juicier results
- Grill chicken over medium-high heat and turn only once
- Use a meat thermometer to ensure chicken reaches 165°F
- Let chicken rest for 5-10 minutes before serving to retain juices
Selecting Chicken Meat for Grilling
When it comes to the selection process, opt for uniform-sized breasts to ensure even cooking. Skinless, boneless cuts are often preferred for their ease of preparation and quicker cooking times compared to bone-in options.
Additionally, consider the quality of the meat – organic and free-range chicken options tend to provide better flavor profiles and are generally healthier due to their natural feeding practices and environment.
Pay attention to the color and firmness of the meat; fresh chicken breasts are pinkish in hue and spring back when pressed. If possible, sourcing from local butchers or farmers’ markets can lead to fresher, higher-quality choices.
Preparing the Chicken: Brining Time and Process
To ensure your grilled chicken breast retains moisture and flavor, a simple brining process can make all the difference. Immersing the chicken in a saltwater solution prior to cooking allows osmosis to work its magic. The chicken absorbs extra moisture, resulting in a juicier bite post-grilling.
For a basic brine:
- Mix 1/4 cup of kosher salt with 4 cups of water until fully dissolved.
- If desired, enhance the brine with aromatics like garlic, herbs, or citrus zest.
- Submerge the chicken breasts in the brine for 30 minutes to 2 hours; avoid over-brining to keep the texture intact.
- Remove chicken from the brine and pat dry with paper towels.
Skipping this step can result in dryer meat, as grilling typically removes moisture. Implementing this straightforward brining process will provide a noticeable difference in the dining experience.
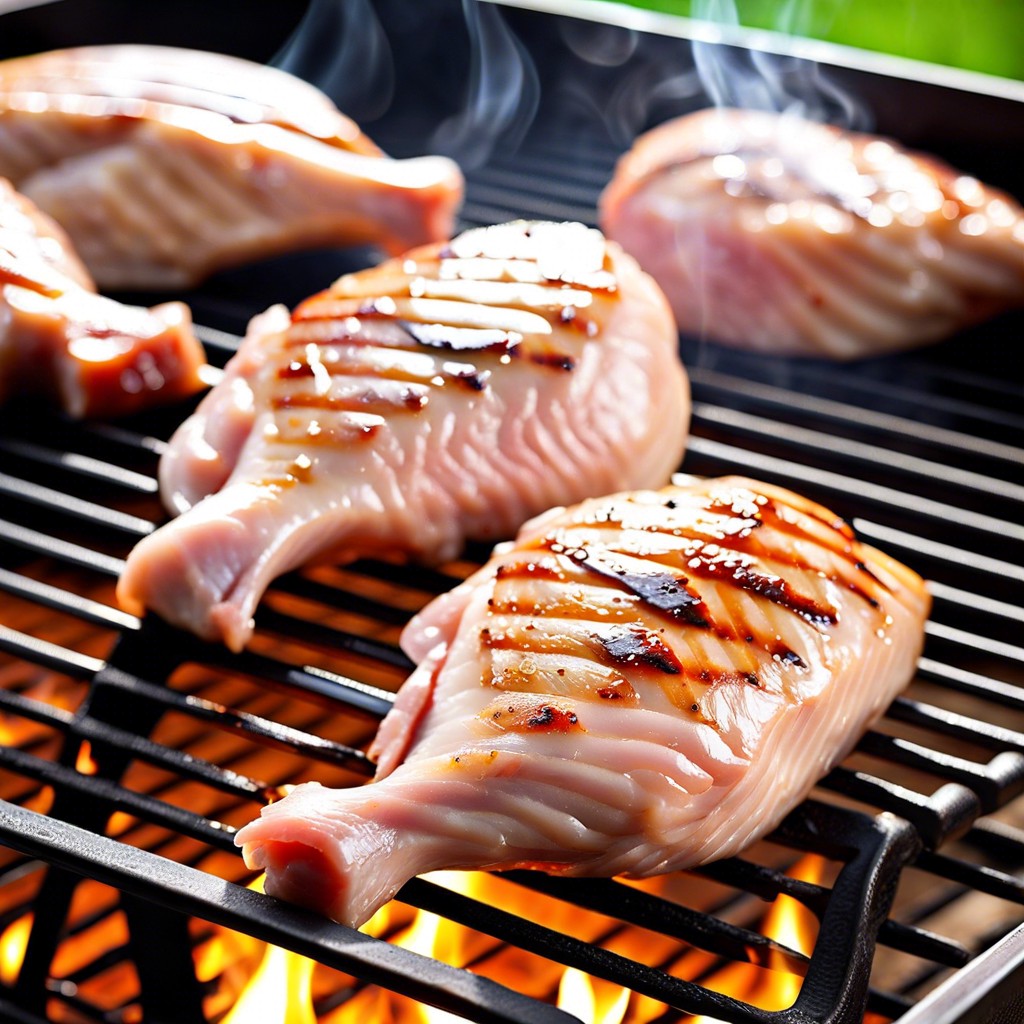
Grilling Chicken Breasts: Time and Temperature Control
Control over time and temperature is paramount to achieving perfectly grilled chicken breasts. Aim for a medium-high heat, around 375–450°F, which allows the outside to develop a golden-brown color while ensuring the inside cooks through without drying out. Preheat your grill for 10-15 minutes to reach the ideal temperature and create a consistent cooking environment.
When placing the chicken on the grill, do so over direct heat to sear the surface and lock in juices. Then, after a few minutes, move the breasts to indirect heat to gently finish cooking. Turn the chicken only once during grilling. The entire process should take about 8-12 minutes, depending on thickness.
Frequent flipping can lead to uneven cooking and loss of moisture, so it’s generally best to turn the chicken only when it releases naturally from the grill grates. This indicates a proper sear has been achieved.
Using a digital meat thermometer, verify that the internal temperature has reached 165°F, the safe minimum for chicken, before removing it from the grill. It’s important to measure at the thickest part of the breast without touching bone for the most accurate reading.
By mastering these core principles, you’ll consistently serve up juicy, perfectly grilled chicken breasts that are sure to impress.
Testing for Doneness Without Cutting
Ascertaining the perfect level of doneness in chicken breasts without slicing into the meat preserves juices and maintains aesthetic appeal. Utilize a meat thermometer, inserting it into the thickest part of the breast without touching the bone, aiming for an internal temperature of 165°F (75°C) to ensure safety and tenderness.
Alternative methods include pressing the meat with tongs; fully cooked chicken should feel firm yet slightly yielding. Observe the juices as well, which should run clear when the meat reaches proper doneness. Familiarity with these techniques will result in consistently succulent, perfectly cooked chicken breasts.
Resting Chicken Post-Grilling
Once removed from the grill, chicken breasts must rest. This pause is crucial—it allows for the redistribution and reabsorption of juices that have been driven to the center of the meat by the heat. A good rule of thumb is to let the chicken sit for approximately five minutes for small breasts, and up to ten minutes for larger cuts. Covering the chicken with foil during this time will keep it warm without cooking it further. This step ensures every bite is moist and succulent, not dry or rubbery, enhancing the overall taste experience. Remember, patience during the resting phase pays off on the plate.


