Discover the simple steps to creating your very own DIY grill gazebo and transform your backyard into an outdoor kitchen paradise.
Summer is here, and it’s time to fire up the grill! But what if you don’t have a suitable outdoor space for your BBQ parties? Fear not, because today we’re going to talk about a DIY project that will transform your backyard into the ultimate grilling oasis. We’re talking about building your very own grill gazebo! Not only will this provide shelter from the elements while you cook, but it also adds an extra touch of style to your outdoor entertainment area.
So grab your tools and let’s get started on creating the perfect spot for all of your summer cookouts.
Choosing the Right Location
You want to make sure that it’s easily accessible from your home and provides enough space for both the gazebo and a comfortable seating area. Consider factors such as wind direction, sun exposure, and privacy when selecting a spot for your grill gazebo.
It’s also important to check with local authorities regarding any zoning or permit requirements before starting construction. Once you have chosen an appropriate location, mark out the perimeter of where you want to build using stakes or spray paint.
Remember that this will be a permanent structure in your backyard so take some time to think about how it will fit into the overall design of your outdoor living space.
Selecting Durable Materials
You want to ensure that the structure can withstand harsh weather conditions and frequent use. One of the most popular options is pressure-treated lumber, which is resistant to rot and insect damage.
Cedar wood is also a great choice as it has natural oils that repel insects and resist decay.
For roofing options, consider using metal or polycarbonate panels instead of traditional shingles as they are more durable in extreme weather conditions such as heavy rain or snowfall.
Another important factor when selecting materials for your grill gazebo is their ability to handle heat exposure from grilling. Avoid using flammable materials such as untreated wood near the grill area.
Designing Your Grill Gazebo
The first step is to decide on a style that complements your home and outdoor space. You can choose from a variety of designs, including rustic, modern or traditional.
Next, consider the size of your grill gazebo. It should be large enough to accommodate both you and your guests comfortably while cooking but not so big that it takes up too much space in your backyard.
You’ll also want to think about any additional features you may want in order to make grilling more enjoyable such as built-in seating or storage solutions for utensils and condiments.
Don’t forget about lighting! Adding some ambient lighting will create an inviting atmosphere for evening cookouts with friends and family.
Preparing the Ground
This step is crucial in ensuring that your structure is stable and secure. The first thing you need to do is clear the area of any debris or vegetation such as rocks, roots, and grass.
Next, level out the ground using a shovel or rake. Make sure that there are no bumps or uneven areas as this can cause problems when laying down your foundation later on.
If you’re planning on placing pavers underneath your grill gazebo for added stability and aesthetic appeal, now would be a good time to lay them down before proceeding with further construction.
By taking these steps in preparing the ground beforehand, you’ll ensure that your DIY project goes smoothly without any hiccups along the way.
Setting the Foundation
This is a crucial step in ensuring that your structure will be sturdy and long-lasting. The first thing you need to do is clear away any debris or vegetation from the area where you plan on building.
Next, mark out the perimeter of your gazebo using stakes and string.
Now it’s time to dig holes for each of the posts that will support your structure. These holes should be at least 2 feet deep and wide enough to accommodate concrete footings that are approximately 6 inches larger than each post.
After digging all of these holes, fill them with concrete up until ground level or slightly above if desired (this can help prevent water damage). Then insert metal brackets into wet cement so they’re flush with surface level before allowing everything dry completely overnight.
The next day, attach wooden posts onto these brackets using bolts while making sure they’re plumb (straight) by checking levels both horizontally as well as vertically before tightening nuts securely into place.
Building the Framework
This is where you’ll see your project really take shape! The first step in building a sturdy frame is to measure and cut all of your lumber according to your design plan. Make sure that each piece fits together snugly before securing them with screws or nails.
When constructing the framework, it’s important to keep in mind any additional features that will be added later on such as seating or storage solutions. You may want to leave extra space for these elements so they can be easily incorporated into the final structure.
It’s also crucial that you pay attention to safety measures when working with power tools and heavy materials like wood beams. Always wear protective gear such as gloves, goggles, and earplugs while operating machinery.
Adding Roofing Options
The roofing options for your DIY grill gazebo are endless, and choosing the right one will depend on several factors such as budget, climate conditions in your area and personal preference.
One popular option is a metal roof which provides durability and protection from harsh weather elements. Metal roofs come in various colors that can match or complement the color scheme of your outdoor space.
Another option is using polycarbonate sheets which offer UV protection while still allowing natural light to filter through. This type of roofing material also comes in different colors that can be customized according to taste.
If you prefer a more rustic look for your backyard oasis, wooden shingles may be an excellent choice for you. Wooden shingles provide insulation against heat loss during colder months while adding charm and character to any outdoor living space.
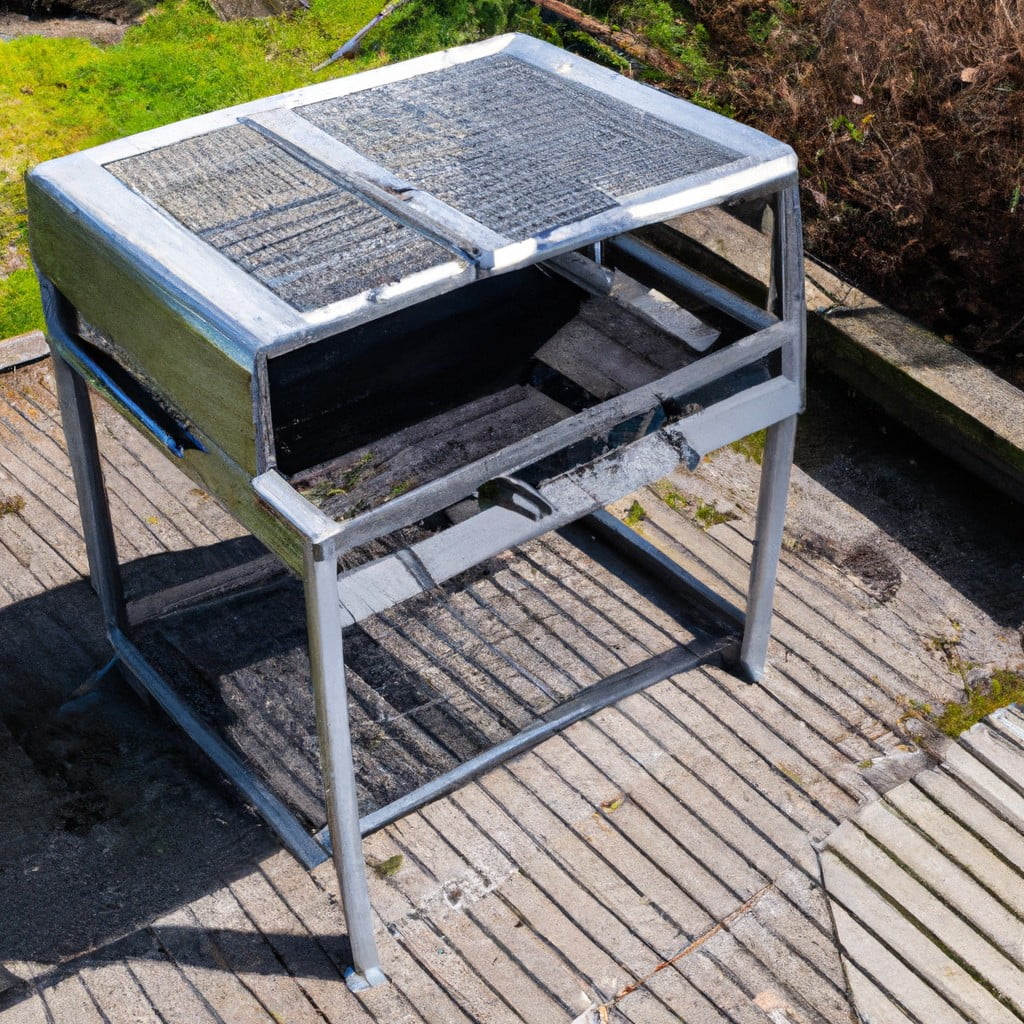
Attaching the Grill Feature
This is a crucial step in ensuring that your outdoor kitchen is functional and safe for use. The first thing you need to do is decide on the type of grill you want to install.
You can choose from gas or charcoal grills, depending on your preference.
When attaching the grill feature, make sure that it’s positioned at a safe distance from any flammable materials such as wood or fabric. It should also be placed in an area where smoke won’t bother guests while they’re eating.
To secure the grill onto its designated spot within your gazebo structure, follow manufacturer instructions carefully and ensure all screws are tightened properly so there will be no wobbling during cooking sessions.
Creating Ventilation
Without adequate airflow, smoke can build up inside your grill gazebo and cause health hazards or discomfort for you and your guests. To create proper ventilation in your DIY grill gazebo, there are a few options to consider.
One option is installing vents on the roof of the gazebo. This allows hot air and smoke to escape while also preventing rain from entering through the top of the structure.
Another option is incorporating open sides into your design that allow fresh air to flow freely through the space while cooking. This not only provides ample ventilation but also creates an inviting atmosphere for guests as they enjoy their meal in a comfortable environment.
Whichever method you choose, be sure that it meets local building codes regarding fire safety regulations before proceeding with construction.
Incorporating Seating
After all, what good is a beautiful outdoor kitchen if there’s nowhere for your guests to sit and enjoy the food? When choosing seating options for your grill gazebo, consider both comfort and durability. You want something that can withstand the elements while also providing a cozy spot for friends and family to gather.
One option is to build benches or stools directly into the structure of the gazebo itself. This not only saves space but also creates a cohesive look between your cooking area and seating area.
Another option is to purchase weather-resistant patio furniture such as chairs or loveseats with cushions made from water-resistant materials.
If you’re feeling creative, consider adding some DIY touches like custom-made seat cushions in fun patterns or colors that match your overall design scheme.
Installing Lighting
One of the most important aspects of any outdoor space is lighting. Not only does it create a warm and inviting atmosphere, but it also ensures that you can continue cooking well into the evening.
There are many different types of lighting options available for your grill gazebo. Some popular choices include string lights, lanterns, and even chandeliers! When selecting your lighting fixtures, be sure to choose ones that are rated for outdoor use and can withstand exposure to the elements.
When installing your lights in or around the gazebo area make sure they’re positioned strategically so as not to interfere with grilling activities while still providing adequate illumination throughout all areas under cover.
Adding Storage Solutions
One important consideration is storage solutions. You’ll want a place to keep all of your grilling tools and accessories close at hand, but also out of sight when not in use.
One option is to build shelves or cabinets into the sides or back wall of your gazebo. This will provide ample storage space for everything from utensils and plates, to spices and condiments.
Another idea is adding hooks or hangers on the inside walls for hanging items like tongs, spatulas, and brushes. This keeps them within easy reach while cooking without taking up valuable counter space.
If you’re short on floor space inside your grill gazebo consider building a small outdoor cabinet nearby where you can store larger items such as propane tanks or charcoal bags that would otherwise take up too much room in your sheltered area.
Customizing Your Gazebo
This is where you can really let your creativity shine! One popular customization option is adding a bar area for guests to sit and enjoy drinks while they watch you cook. You could also incorporate shelves or cabinets for storing grilling tools, plates, and utensils.
If you’re looking for a more rustic feel, consider using reclaimed wood or stone accents in your design.
Another way to customize your gazebo is by incorporating seating that complements the style of the structure itself. Whether it’s benches along one side or individual chairs around a table in the center of the space – there are many ways to make sure everyone has somewhere comfortable to sit.
Don’t forget about lighting! Adding some string lights overhead can create an inviting atmosphere as well as provide ample illumination when cooking after dark.
Weatherproofing Techniques
Weatherproofing is crucial for protecting your investment and ensuring that you can enjoy outdoor cooking all year round. Here are some weatherproofing techniques to consider:
1. Sealant: Apply a waterproof sealant to any exposed wood surfaces, including the roof and framework.
2. Water-resistant materials: Use water-resistant materials such as metal or vinyl for roofing options.
3. Proper drainage: Ensure proper drainage by sloping the roof away from the center of the structure and adding gutters if necessary.
4. Wind protection: Consider adding windbreaks or screens around your grill gazebo to protect against strong winds.
5. Rust prevention: If using metal components in your design, apply rust-prevention coatings regularly to prevent corrosion over time.
Maintaining Your Grill Gazebo
Regular maintenance will also help keep your gazebo looking great and functioning well.
One key aspect of maintaining a grill gazebo is keeping the structure clean. This includes removing any debris or leaves from the roof, as well as wiping down any surfaces with a damp cloth to remove dirt or grease buildup.
You should also inspect the roofing materials periodically to ensure they are in good condition and replace them if necessary.
Another important consideration is protecting your grill from rusting due to exposure to moisture or other elements. To prevent this, make sure you cover your grill when not in use with a waterproof cover specifically designed for grills.
Be sure to check all bolts and screws regularly for tightness since weather changes can cause expansion/contraction which may loosen fasteners over time.
Safety Precautions
Before you begin construction, make sure to carefully read and follow all instructions for the materials and tools you’ll be using. Wear appropriate protective gear such as gloves, goggles, and sturdy shoes while working on the project.
It’s also important to consider fire safety when designing your grill gazebo. Make sure that there is enough space between the grill feature and any flammable materials such as wood or fabric roofing options.
Ensure proper ventilation in order to prevent smoke buildup inside of the structure.
If you plan on incorporating lighting into your design make sure that all electrical components are installed by a licensed electrician in accordance with local codes.
DIY Grill Gazebo Costs
The good news is that with a little bit of planning and some DIY skills, you can create a beautiful and functional outdoor kitchen space without breaking the bank.
The total cost of your project will depend on several factors such as size, materials used, roofing options selected and any additional features you choose to incorporate. For example, if you opt for high-end materials like cedar or redwood instead of pressure-treated lumber or composite decking boards; this will increase costs significantly.
On average though – depending on where in the world you are located – expect to spend between $500-$2000 USD for all necessary supplies including wood planks (or other material), screws/nails/fasteners etc., roofing panels/tiles/sheets (if applicable) plus any extras like lighting fixtures or seating arrangements.
Grill Gazebo Alternatives
If you’re looking for alternatives to a traditional grill gazebo, there are several options available that can still provide shelter and style while you cook outdoors.
One alternative is a pergola. A pergola provides partial shade and can be customized with curtains or vines for added privacy.
It’s also less expensive than building a full enclosure like a gazebo.
Another option is an umbrella or canopy tent. These are portable and easy to set up, making them perfect if you don’t have much space in your yard or want something temporary.
A third alternative could be creating an outdoor kitchen area under your existing patio cover or awning by adding some seating arrangements around it.
FAQ
Can you put a grill in a gazebo?
Yes, you can put a grill in a gazebo, as grill gazebos provide versatile and practical shelter for grilling activities even during winter.
Is it safe to grill under an awning?
Yes, grilling under an awning is safe if the awning is installed at the proper height and the grill is well maintained.
Can you put a grill under a pergola?
Yes, a grill can be placed under a pergola, ensuring it is positioned between two corner posts and to the outside for proper smoke ventilation.
What types of materials are best for constructing a grill gazebo?
Common materials for constructing a grill gazebo include durable metals like steel or aluminum, as well as weather-resistant wood such as cedar or redwood.
How far should a grill be placed from the gazebo’s walls or posts for safety?
A grill should be placed at least 10 feet away from the gazebo’s walls or posts for safety.
Are there any specific ventilation requirements for a grill gazebo setup?
Yes, a grill gazebo setup requires proper ventilation to ensure efficient air circulation and prevent smoke buildup.
Related Articles
 How to Build a Brick BBQ with Chimney for Ultimate Grilling
 How to Clean Electric Grill: Easy Steps for Spotless Results
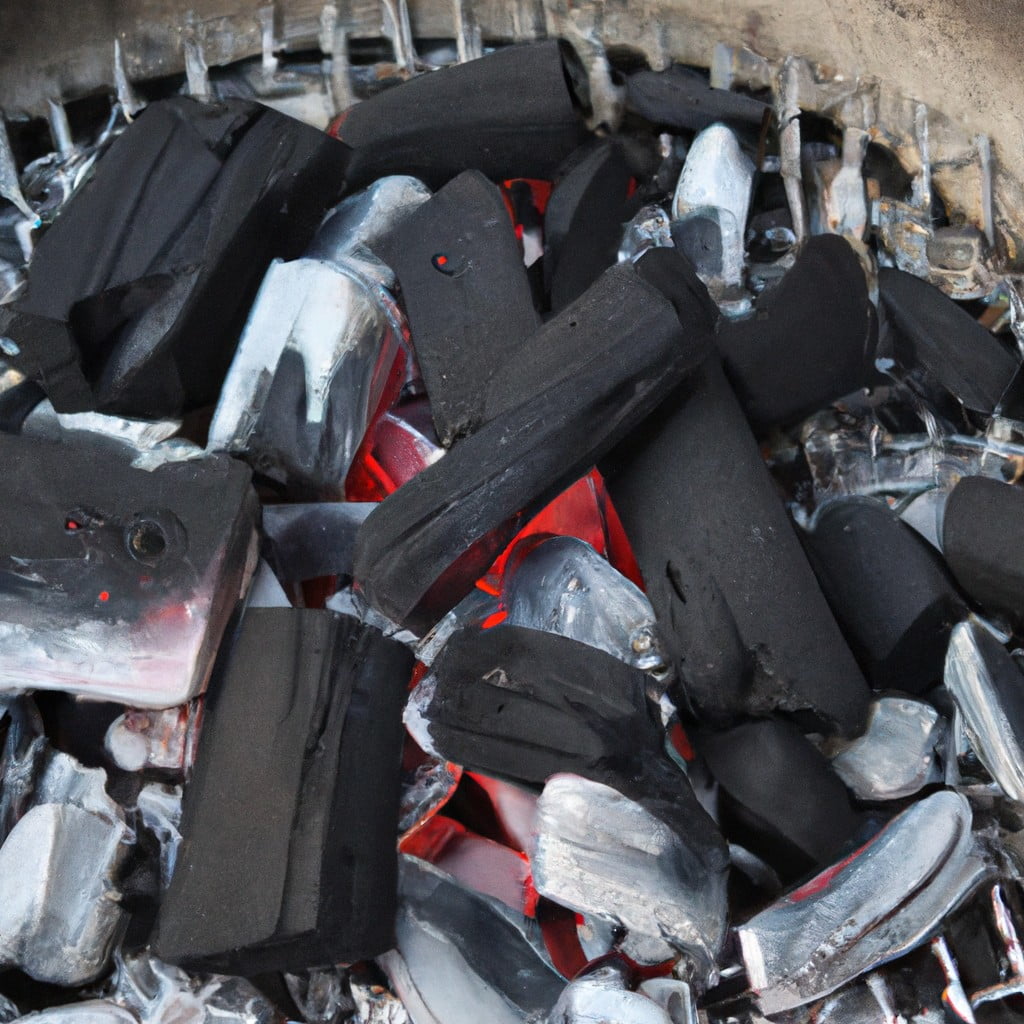 How Much Charcoal to Use in a Grill: Ultimate Guide & Tips
 How to Remove a Propane Tank from Grill: Easy Steps & Safety Tips
 How to Keep Mice Out of Grill: Simple Tips for a Rodent-Free BBQ