Perfectly grilled ribs are the epitome of succulent summer dining, and this article will guide you through the steps to achieve that mouth-watering, fall-off-the-bone result every time.
Key takeaways:
- Choose the right ribs: baby back, St. Louis, or spare ribs
- Remove the membrane and apply a balanced spice rub
- Use the indirect heat method and maintain grill temperature
- Test for doneness without a thermometer
- Rest the ribs before serving and pair with complementary sides.
Choosing the Right Ribs
When you’re at the butcher or grocery store, faced with an array of rib options, it can be a bit like finding the winning ticket in a meaty lottery. Baby back ribs, known for their lean meat and smaller size, are perfect for a quicker grill session. St. Louis-style ribs, trimmed down from the spare rib, offer a balance of meat and fat, resulting in juicy, flavorful bites. If you’re up for a heftier option with more bone, more meat, and more flavor, spare ribs are your go-to.
Consider the number of guests you’re expecting. Baby back ribs, usually with a higher price tag, could be ideal for a smaller, more intimate gathering, whereas the St. Louis and spare ribs are great when feeding a hungry crowd without breaking the bank. Remember: good things come to those who wait, so spare ribs will demand patience on the grill.
Once you’ve picked the perfect type, pay attention to the meat’s appearance. Ribs should have a healthy red color, and the meat should be firm to the touch. Avoid slabs where the meat has pulled away from the bone significantly, a sign they might be overripe or poorly handled.
Lastly, be mindful of the weight. Ribs with a good meat-to-bone ratio will give you more bang for your buck. Slabs that feel too light for their size may be an indicator of less meat and a less satisfying meal.
Armed with these tips, you’ll select ribs that will have your grill singing and your taste buds dancing.
Preparation: Removing the Membrane and Applying the Spice Rub
Peeling off the tough membrane on the underside of your ribs is crucial for two reasons. First, it allows the spice rub to better penetrate the meat, and second, it ensures a more tender bite post-grill.
Once the ribs are prepped, concocting a knockout spice rub is your next step. Aim for a balanced mix of sweet, salty, and smoky; brown sugar, sea salt, and a hint of paprika hit the nail on the head.
Spread your spice rub liberally, giving your ribs an ample coat. Work the spices in, ensuring it adheres well. This spice embrace is more than just flavor—it’s the foundation for that mouthwatering crust barbecue aficionados rave about.
Remember, patience is key. Let the ribs sit after rubbing. This pause allows the meat to absorb the flavors deeply, setting the stage for grilling greatness.
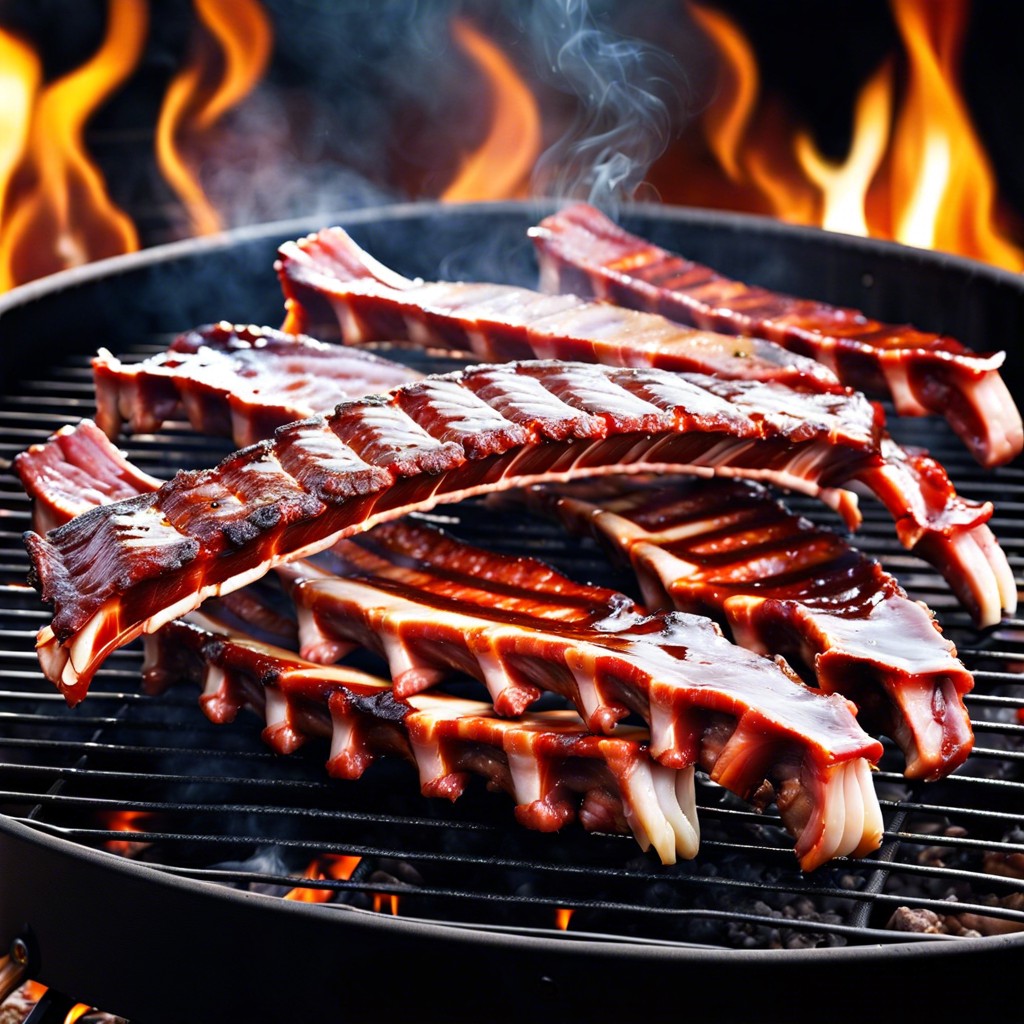
Grilling Technique: Indirect Heat Method and Grill Temperature
Mastering the art of indirect heat is a game-changer for nailing perfect ribs. Think of it as a gentle embrace rather than a full-on sizzle fest – the ribs cook evenly without becoming charred relics. Here’s how to set up your grill for success:
For charcoal grills, pile the briquettes to one side, creating a sear zone and a cooler side. Your ribs will spend most of their time on that cooler side, basking in the ambient heat. Gas grill enthusiasts can achieve a similar setup by firing up only half the burners. Aim to keep the grill temperature at a steady 225-250°F – hot enough for cooking, cool enough to keep the juices locked in.
Patience is a virtue here; resist the urge to flip those ribs every time you flip the lid. A watchful eye is good, but let the grill do its job – low and slow is the order of the day. Rotate the ribs once or half-way through for an even cook. Keep the lid down to maintain temperature, and remember, every peek adds a few extra minutes to the cooking time. So, fight that temptation, and keep those ribs covered like a precious secret.
Testing for Doneness Without a Thermometer
Gauging the readiness of your grilled ribs without a thermometer is like solving a meaty puzzle sans tech. Firstly, give those bones a little tug. Not falling apart but giving way with a gentle pull is your cue for juicy perfection. Another trick up your sleeve? The bend test. Pick up the slab with tongs and if the rack bends at a picturesque arc and the meat starts to crack on the surface, you’ve hit the jackpot.
Peek-a-boo isn’t just a game for toddlers. Lift a rib out of the rack; if the meat has shrunk back exposing about a quarter-inch of bone, your ribs are ready to steal the show. And lastly, dig into your intuition. If the exterior spells a glorious caramelization and the inside feels tender during a careful prod, your gut coupled with these cues might just be better than any gadget out there.
Resting the Ribs Before Serving and Serving Suggestions
Patience is a virtue, especially when you’ve nailed the grill game with your ribs. Give them a moment to bask in their own glory off the heat. A rest period of about 10 to 15 minutes lets the juices redistribute, ensuring each bite is as succulent as the last. Lay them down on a board, tent them with foil, and fight off the urge to dig in right away; the wait will pay dividends in flavor.
Now, for serving, you’re ready to slice and impress. Separate them between the bones for individual portions, or, for a showstopper, present the whole rack on a platter garnished with fresh herbs. Pair with classic sides like coleslaw, grilled corn, or a tangy potato salad for a symphony of taste. Think of sides that complement without stealing the spotlight—the ribs are your crescendo. Remember, simplicity on the plate lets the ribs sing.
Related
- How to Cook Ribs on the Grill: Mastering the Perfect Barbecue
- How to Grill Ribs: Easy Steps for Perfect Barbecue Results
- Ribs in the Oven: Step-by-Step Guide for Juicy, Fall-off-the-Bone Perfection
- How to Cook Pork Ribs on the Grill for Juicy Perfection
- How to BBQ Ribs on Gas Grill: Easy Step-by-Step Guide