Discover the techniques for perfecting BBQ tri-tip, including preparation, seasoning, and cooking methods for succulent results.
Key takeaways:
- Look for marbling and freshness when selecting tri-tip
- Trim excess fat and season generously with dry rub or marinade
- Grill tri-tip by searing on hot side, then cook indirectly on cooler side
- Monitor grill temperature and rotate roast for even cooking
- Use a meat thermometer and aim for internal temperature of 130°F for medium-rare
Selecting the Perfect Tri-Tip Roast
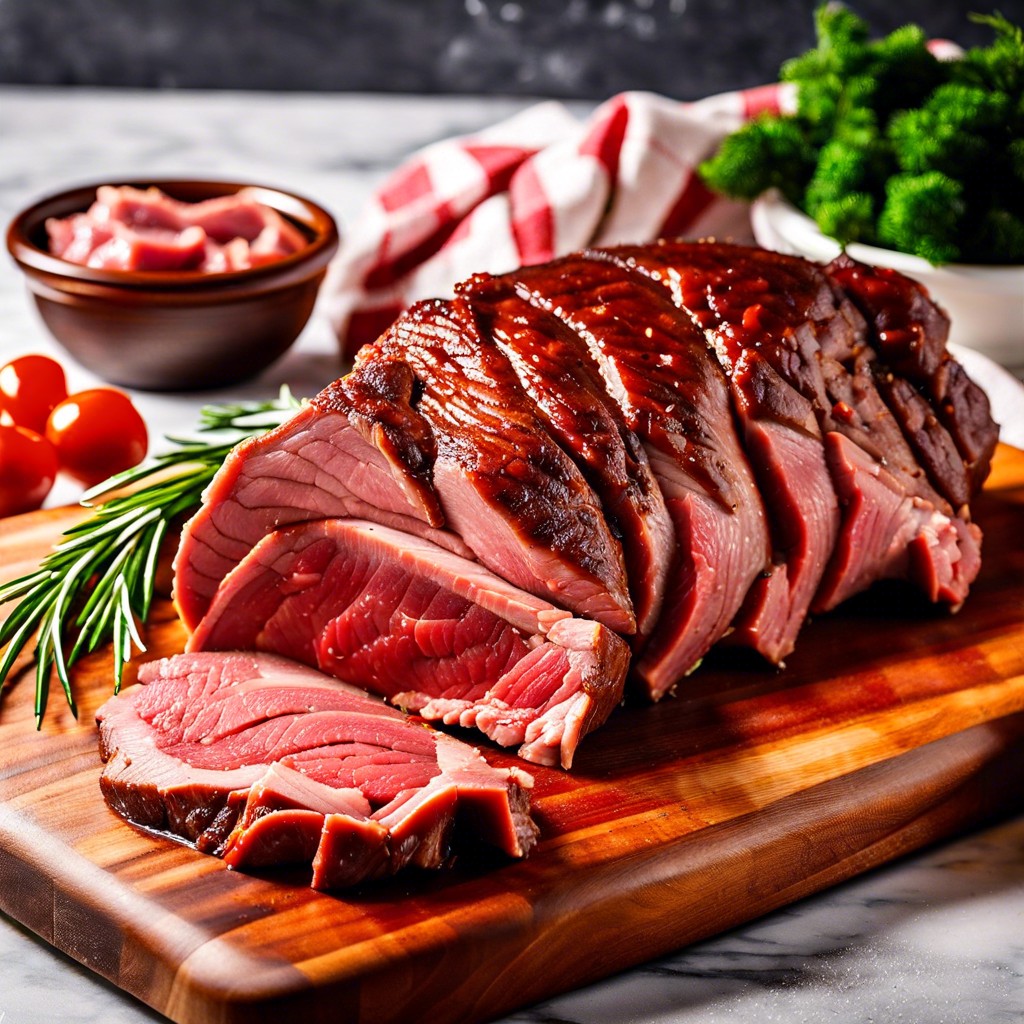
When choosing your cut, look for marbling – those thin white flecks of fat throughout the meat. They’re key for flavor and moisture. Aim for a bright, cherry-red roast; a sign of freshness. Uniform thickness ensures even cooking, so avoid pieces that are significantly thicker on one end. A good weight range is 1.5 to 2.5 pounds, suitable for feeding 3 to 5 people. Opt for USDA Choice or higher for the best quality, and consider grass-fed beef if you prize a more nuanced taste profile. Given the tri-tip’s robust flavor, it doesn’t require an aged cut; fresh from the butcher will yield excellent results.
Preparing the Tri-Tip: Trimming and Seasoning
Before firing up the grill, ensure your tri-tip is prepped for success. Start by trimming off any excess fat to about 1/4 inch thickness; this balances rich flavor and tenderness.
Next, apply a dry rub generously. A blend of coarse salt, black pepper, garlic powder, and a hint of paprika not only elevates the meat’s natural savoriness but also forms a desirable crust.
If a marinade suits your palate, aim for a balance of acidity, oil, and aromatics to penetrate and tenderize the meat—reserve some for a finishing glaze.
Regardless of seasoning or marinade, allow the tri-tip to come to room temperature before it hits the grill. This step promotes even cooking throughout.
Grilling Tri-Tip On a Charcoal Grill: A Step-by-Step Guide
Attain a consistent heat by arranging the charcoal on one side of the grill, creating a hot zone for searing and a cooler zone for indirect cooking. Ignite the charcoal and wait until it’s covered with a thin layer of white ash, signaling it’s ready for use.
Sear the tri-tip, fat side down first, over the hot side of the grill for about 4-5 minutes until it’s well-browned with grill marks. Flip the roast to sear the other side for a similar duration.
Once both sides are seared, move the tri-tip to the cooler side of the grill. Close the lid to maintain a steady temperature, ideal for cooking the roast evenly through indirect heat.
Monitor the grill’s temperature, maintaining a range of 325-350°F by adjusting the air vents. This temperature range is crucial for a gentle cook that won’t dry out the meat.
Rotate the roast halfway through the cooking process to ensure even doneness. This compensates for potential hot spots within the grill and promotes uniform cooking.
Utilize a reliable meat thermometer inserted into the thickest part of the tri-tip to check for doneness, aiming for an internal temperature of 130°F for medium-rare.
Remember, patience and consistent heat management are key to achieving the perfect grilled tri-tip that is crusty on the outside and tender inside.
Monitoring Internal Temperature: When to Remove Tri-Tip From Grill
Achieving the ideal doneness for tri-tip hinges on vigilant monitoring of internal temperature rather than time. Aim for an internal temperature of 130°F for rare, 135°F to 140°F for medium rare, and 145°F for medium, understanding that the meat’s temperature will rise another 5 to 10 degrees during resting. Utilize a reliable instant-read thermometer by inserting it into the thickest part of the roast, steering clear of fat or gristle, which can skew readings.
Remove the meat from the grill once you hit the target temperature range, and anticipate sublime, perfectly cooked results after the rest.
Resting the Meat: Importance for Juiciness and Flavor
After removing your tri-tip from the grill, it’s tempting to cut right into it, but patience is key. Allowing the meat to rest for at least 10 minutes serves a crucial purpose. It redistributes the juices that have been driven to the center of the roast during the cooking process, ensuring that when you do slice the tri-tip, the juices stay within the meat rather than running out onto the cutting board.
Additionally, the rest period allows for carryover cooking, where the internal temperature of the meat can continue to rise slightly as the heat equilibrates. This completes the cooking process gently, reducing the risk of overcooking. To maintain an optimal resting environment, tent the tri-tip loosely with foil, which helps in retaining heat without creating steam.
Skipping this step can result in a less satisfying eating experience, with drier texture and less robust flavor. Resting is a small act that makes a significant impact on your final dish, honoring the time you’ve invested in choosing, preparing, and cooking the tri-tip to perfection.
Related
- How Long to Grill Chicken: Tips for Perfectly Cooked Poultry
- How to Grill Tri Tip: Easy Steps for Perfectly Cooked Steak
- How to Grill Ribs: Easy Steps for Perfect Barbecue Results
- How to BBQ Ribs on Gas Grill: Easy Step-by-Step Guide
- Grilled Pork Tenderloin: Tips and Techniques for Perfectly Cooked Meat